

Usage steps
-
Select New Campaign and review the five stages: Import Recipients, Preview Data, Campaign Details, Schedule, and Review & Launch.
-
Use Download template CSV if needed. The required column is customer_phone. Standard optional columns include first_name, last_name, email and company.
-
Add custom columns for information the agent needs. Match each personalisation column to the variable used in the prompt.
-
Upload the CSV and review the detected mappings. Check the phone-number format and any validation messages.
-
Select Next and inspect Preview Data. Correct mapping or data problems before moving to Campaign Details.
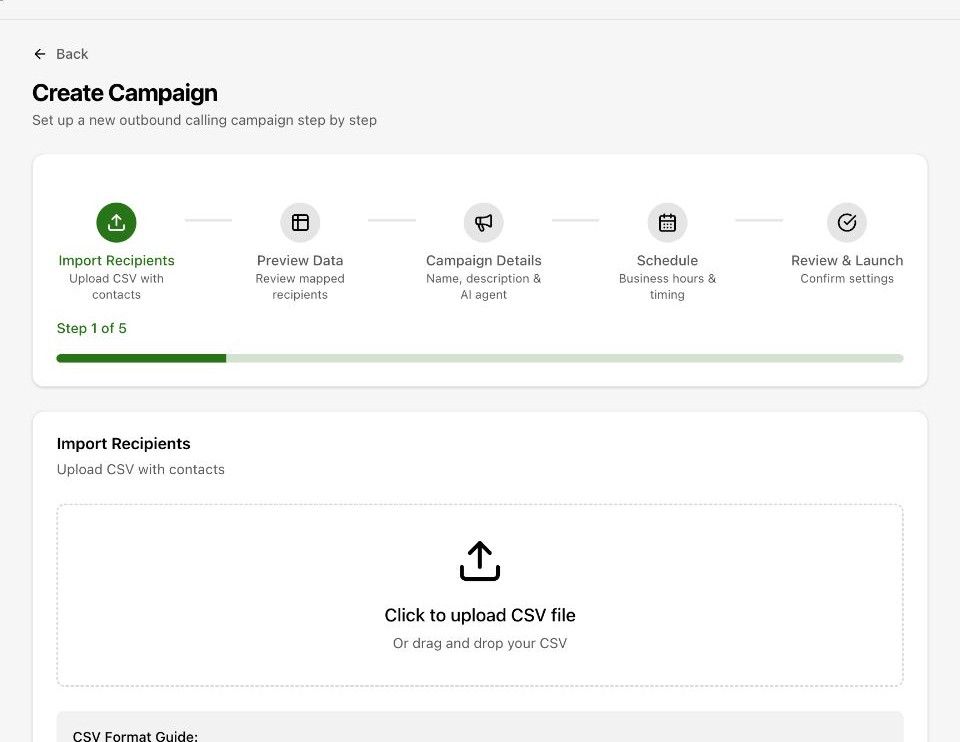
Expected result. The campaign has the intended recipients with correctly mapped data.
Practical notes and troubleshooting. The wizard allows you to skip import and add recipients later. A campaign with no recipients cannot call your intended list.