

Open Telephony → Phone numbers, find the number and click its pencil button. Select Advanced. This tab is available only after the number has been saved. Your organisation controls which sections you can edit.
1. Review office hours
The Office hours section controls routing outside business hours. If it says Office hours are managed by your organization, ask your organisation administrator to configure the schedule and after-hours destination. The switch is disabled in this workspace.
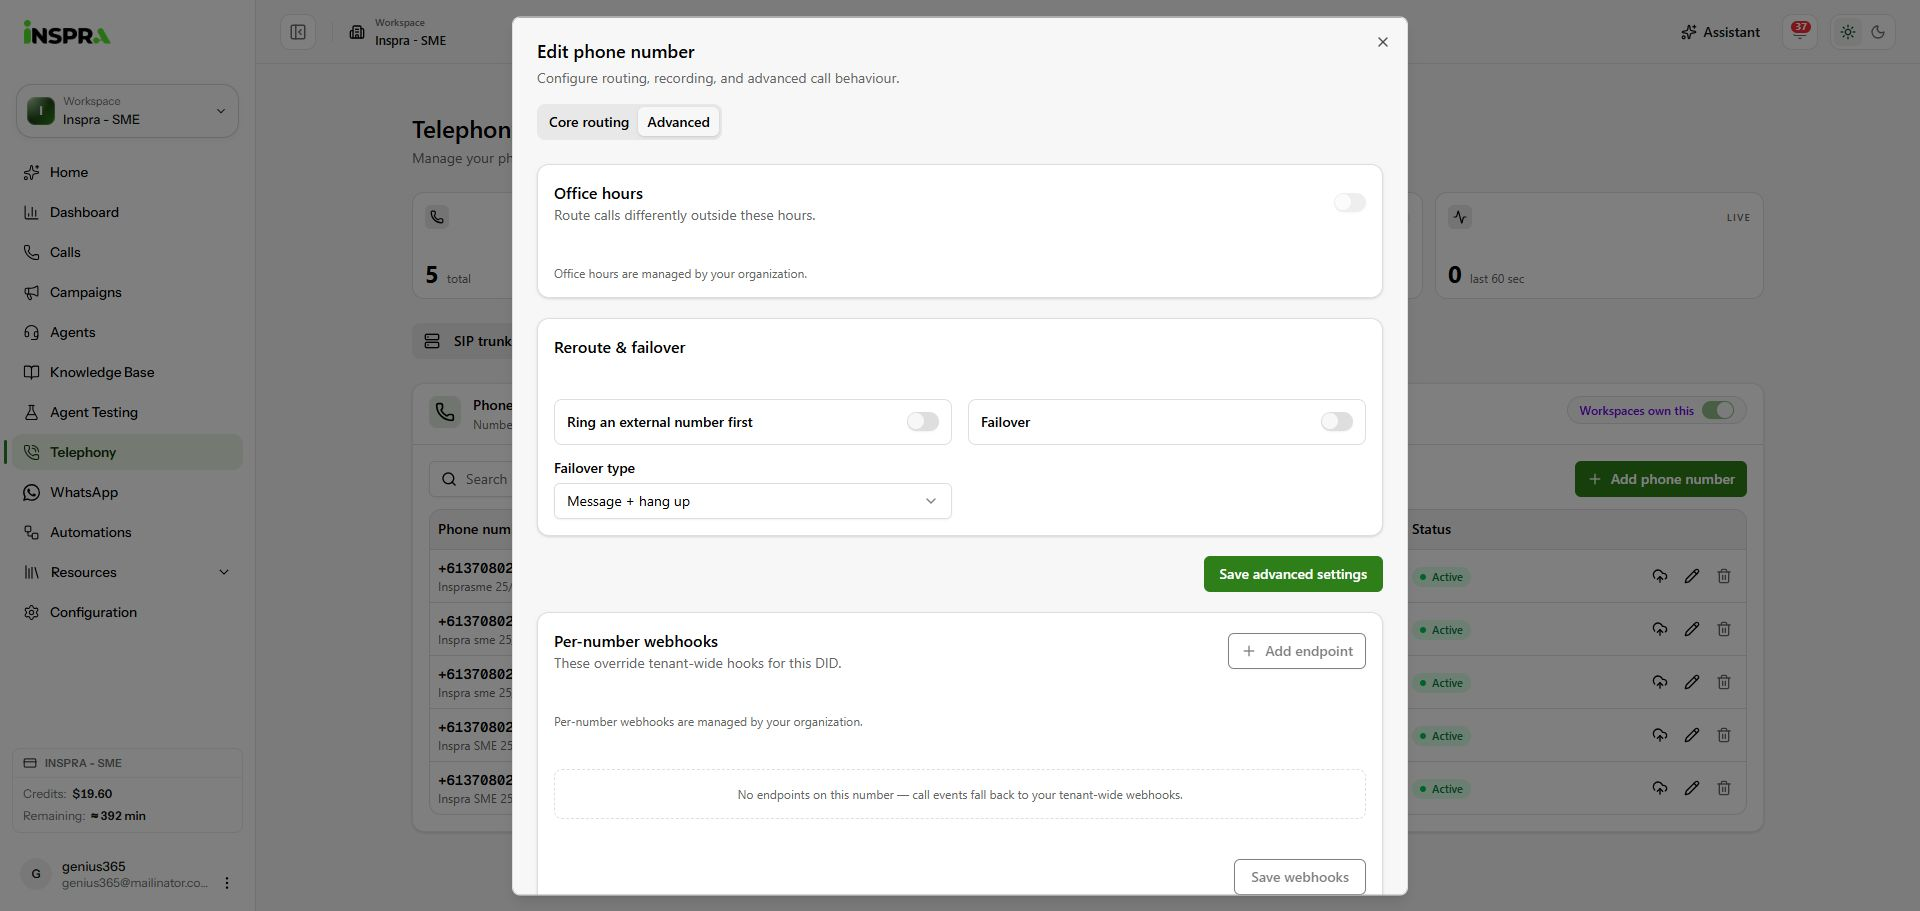
Advanced tab with organisation-managed office hours and reroute controls. 2. Set optional rerouting
Under Reroute & failover, enable Ring an external number first if a person should have the first chance to answer. Enter External number and set Give up after (seconds). The screenshot shows the fields opened in an unsaved draft, with the destination still empty.
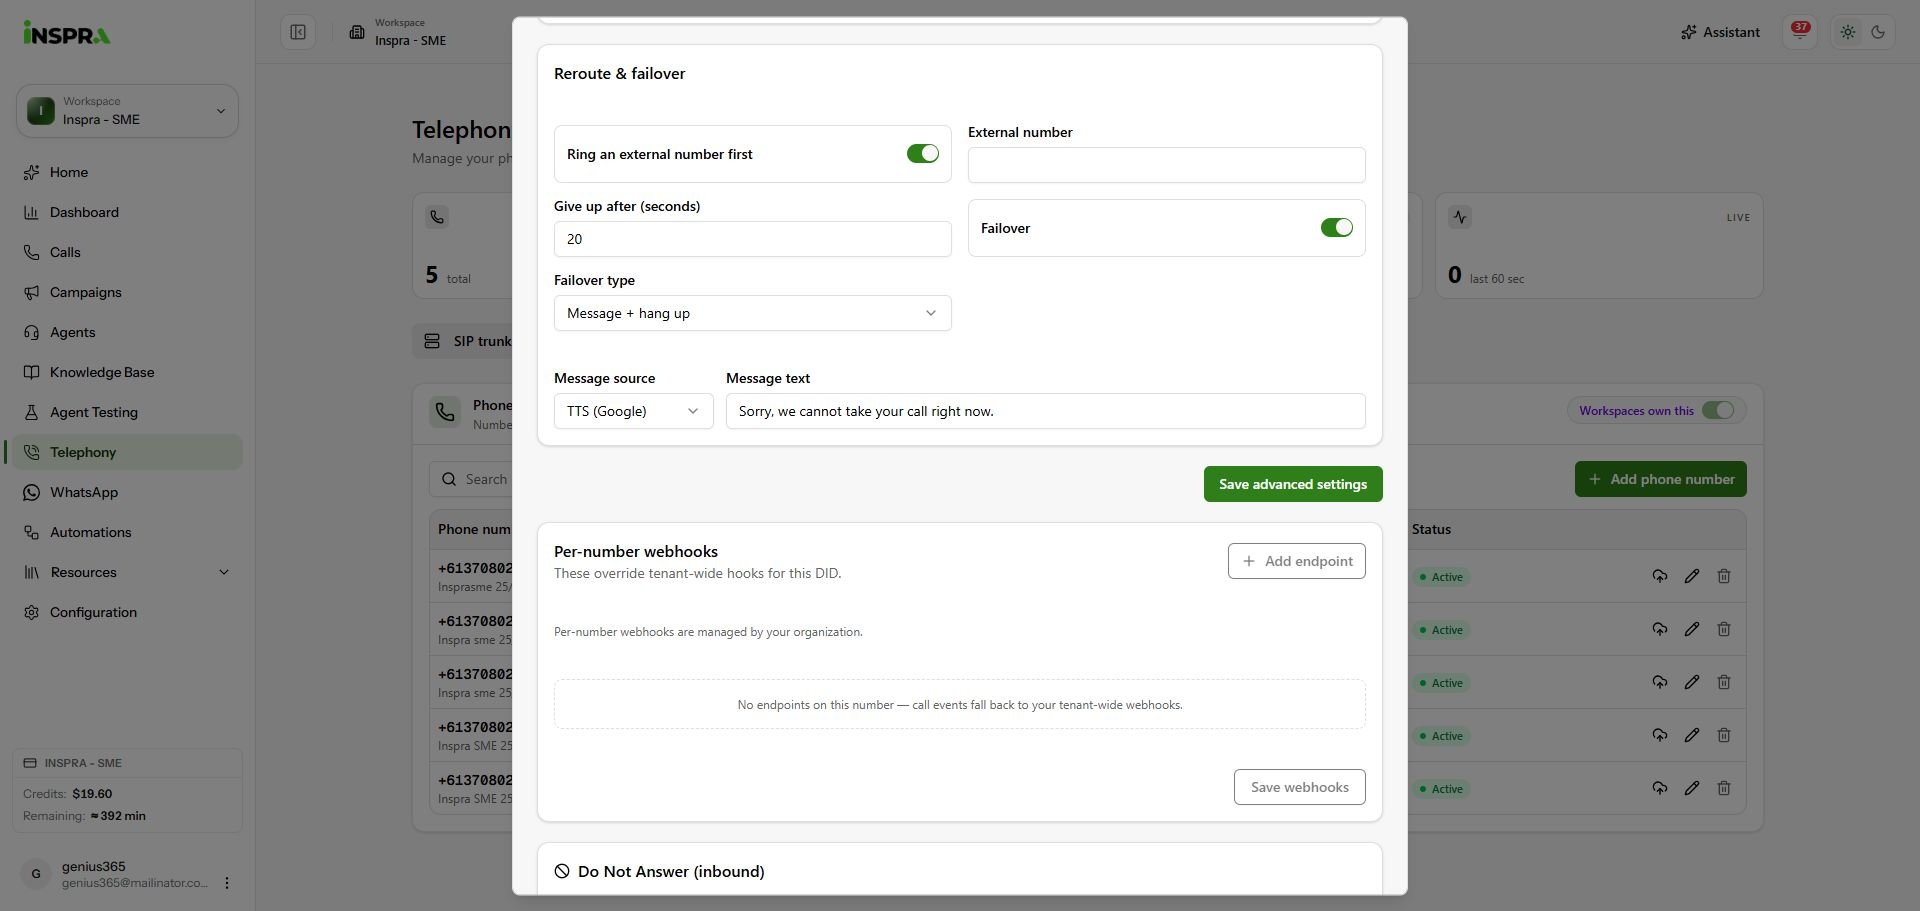
Unsaved reroute and failover form, with timeout, message text and Save advanced settings. 3. Choose failover behaviour and save
Enable Failover when needed and choose Failover type: Message + hang up, AI platform, SIP endpoint or External number. Complete the fields for the selected type. For a spoken message, choose the message source and enter its text; for forwarding, supply the destination. Click Save advanced settings to apply the advanced routing configuration.
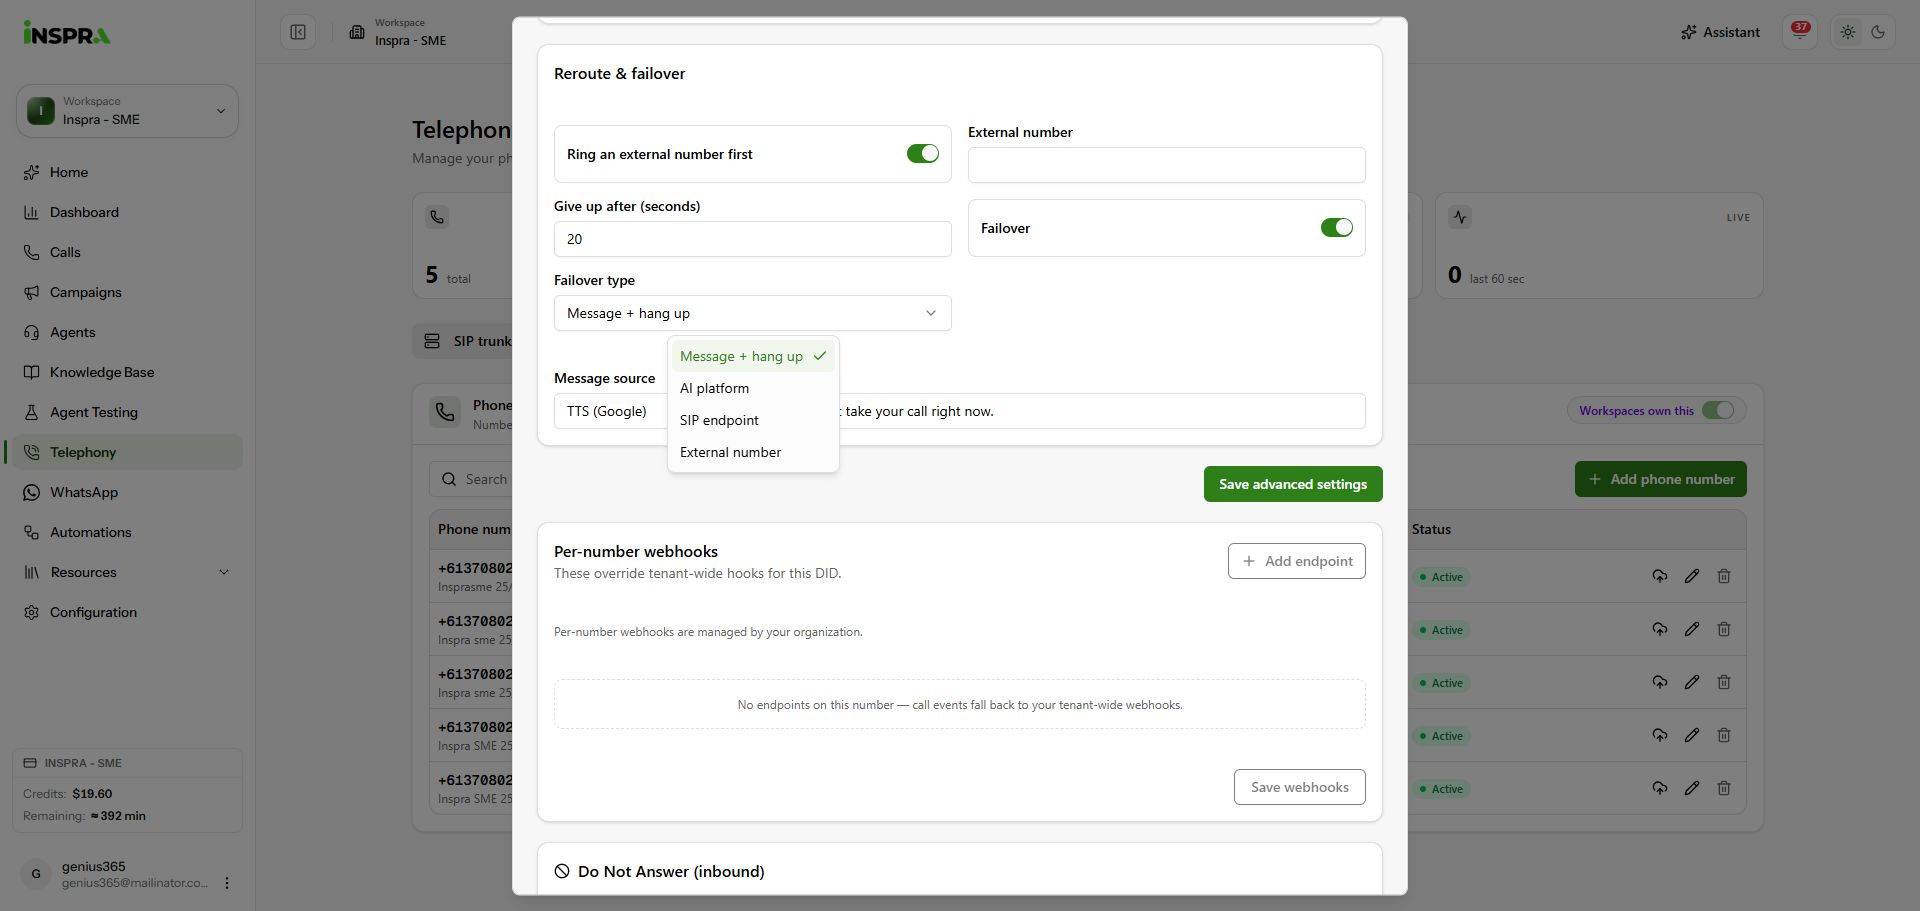
Failover destination options in the unsaved draft. The walkthrough was cancelled without saving; the number's live routing was not changed.
4. Review per-number webhooks
Scroll to Per-number webhooks. These override tenant-wide hooks for this DID. If no endpoints are configured, call events fall back to tenant-wide webhooks. Here, Add endpoint and Save webhooks are disabled because the organisation manages this setting; ask its administrator to configure an endpoint.
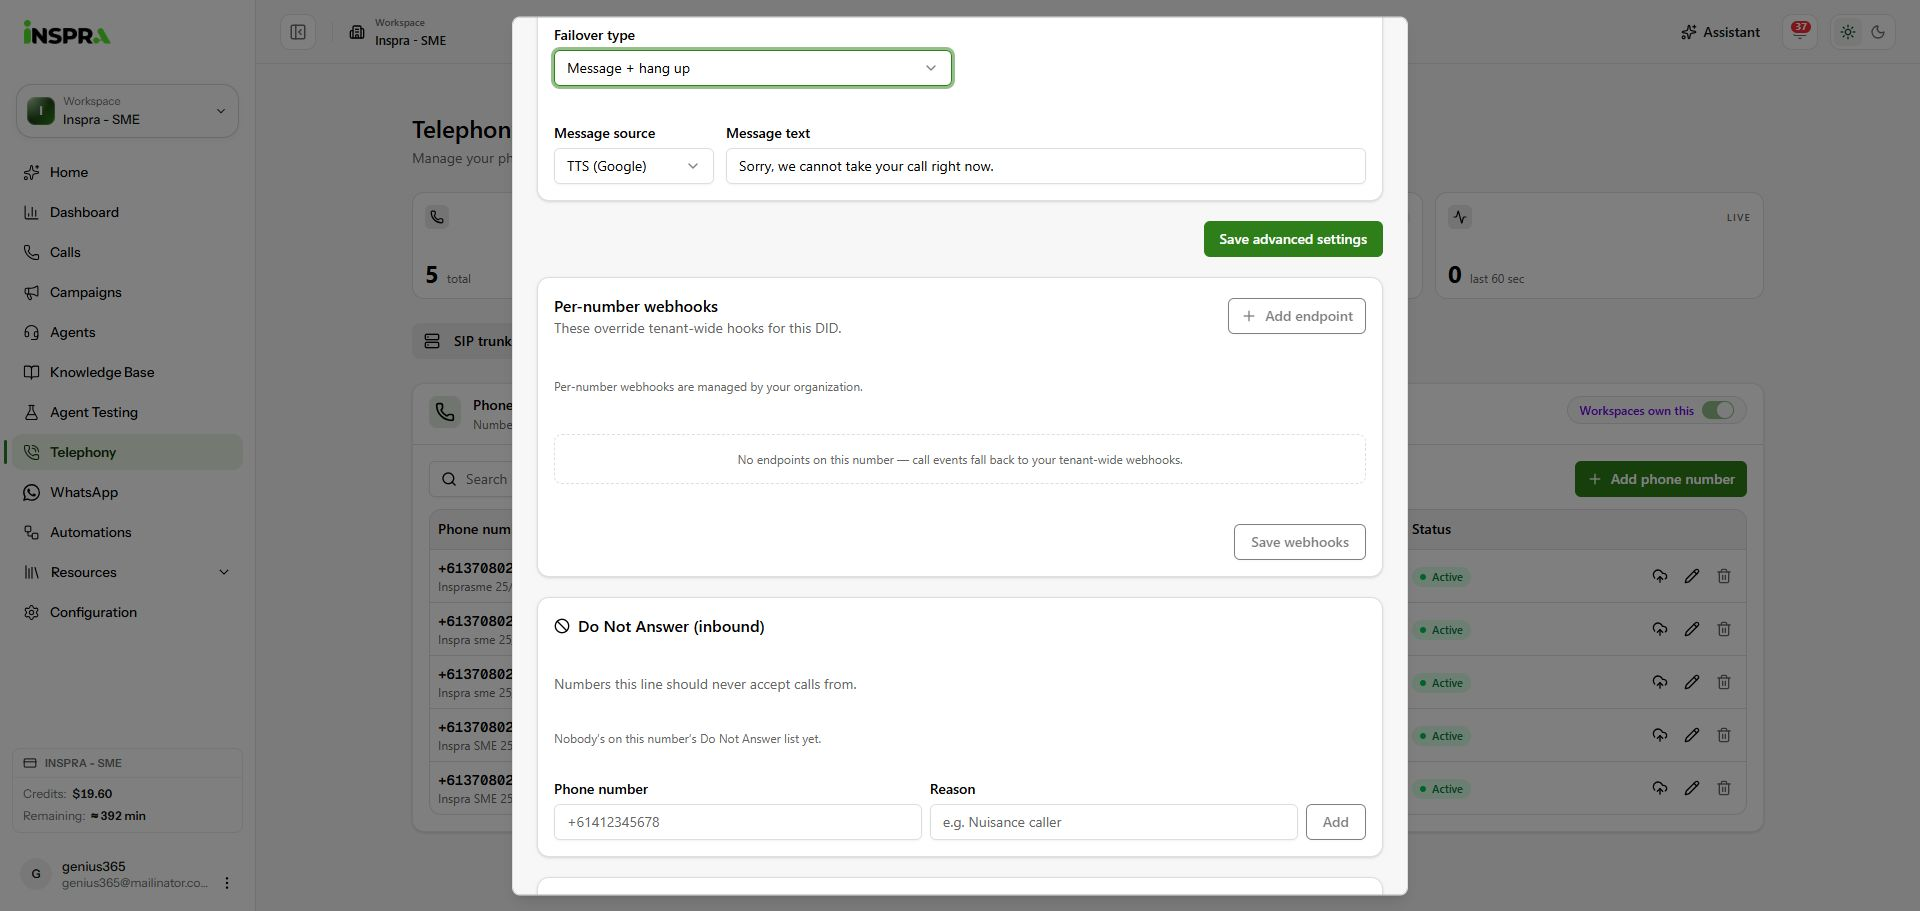
The organisation-managed webhook section with no per-number endpoints. 5. Manage this number's call restrictions
Use Do Not Answer (inbound) for callers this line must not accept and Do Not Call (outbound) for numbers this line must not dial. In the relevant section, enter the Phone number and Reason, then click its Add button. This saves the block immediately; it is separate from Save advanced settings. Both lists are empty in the screenshot. For tenant-wide rules, use Call rules.
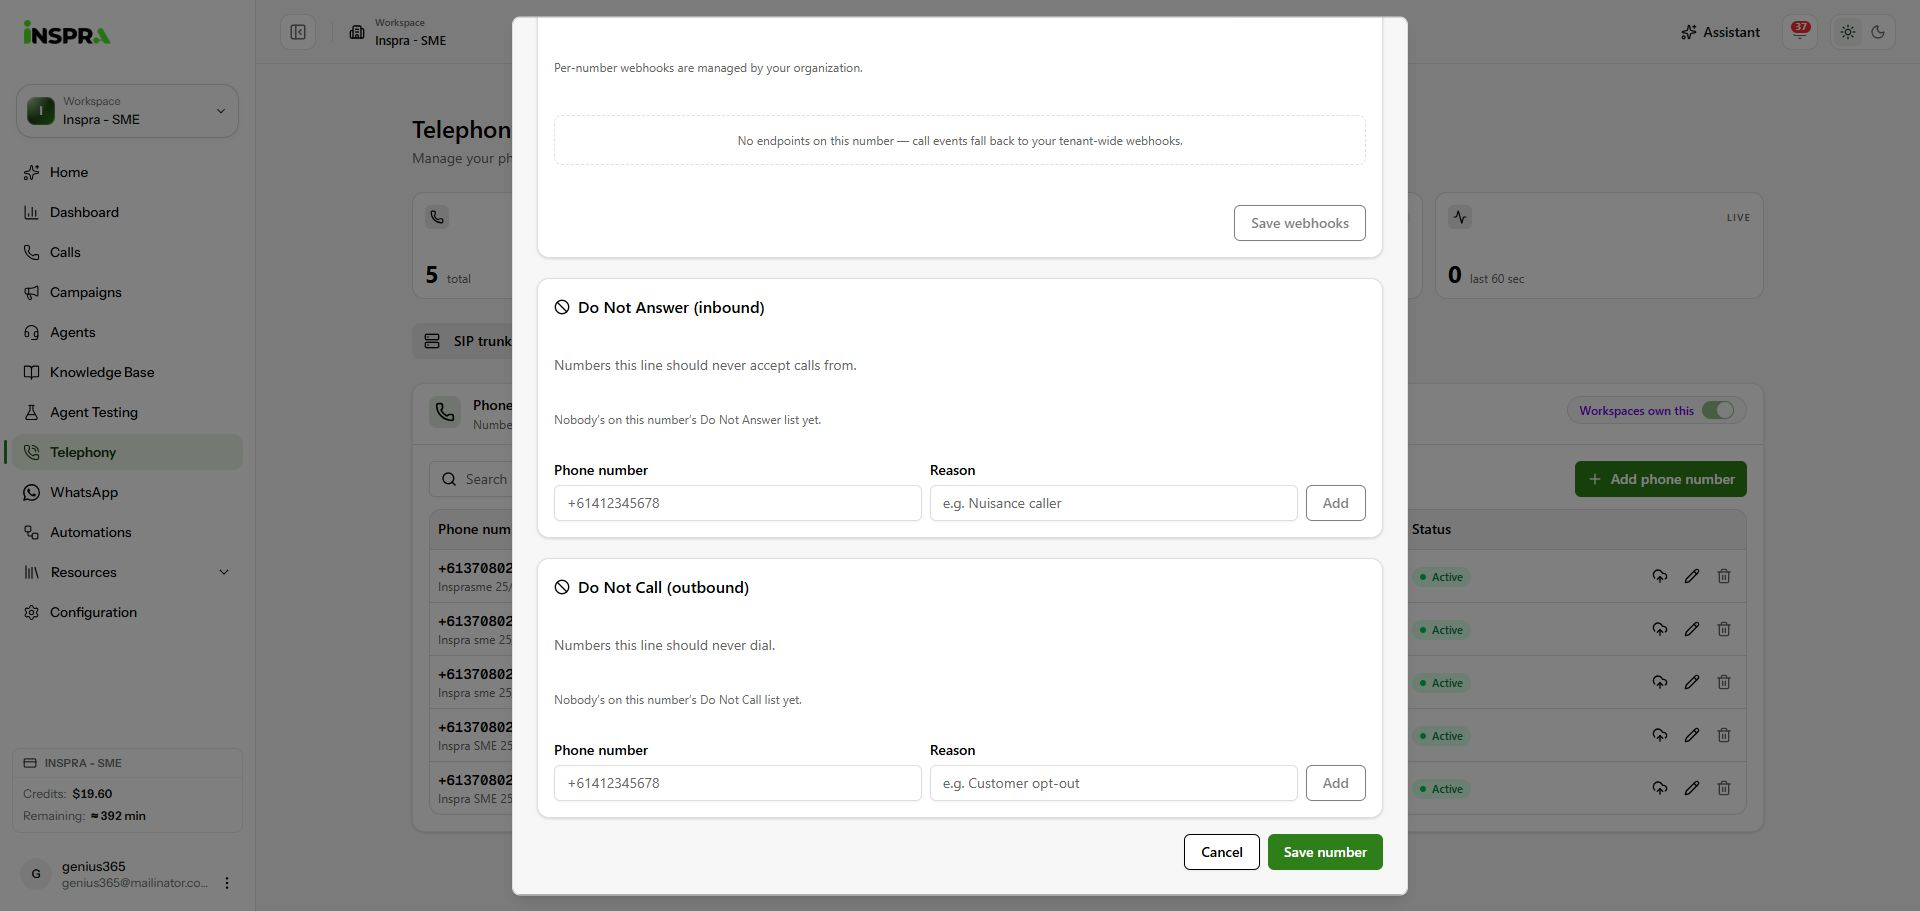
The empty per-number Do Not Answer and Do Not Call lists and their Add controls.