

Have your carrier's connection and authentication details ready. You need permission to manage Telephony and access to carrier settings. The example screens stop before saving and contain no credentials.
1. Open Add a trunk
Go to Telephony → SIP trunks and click Add SIP trunk. In 1. Carrier, choose the carrier catalogue or Set up my own carrier.
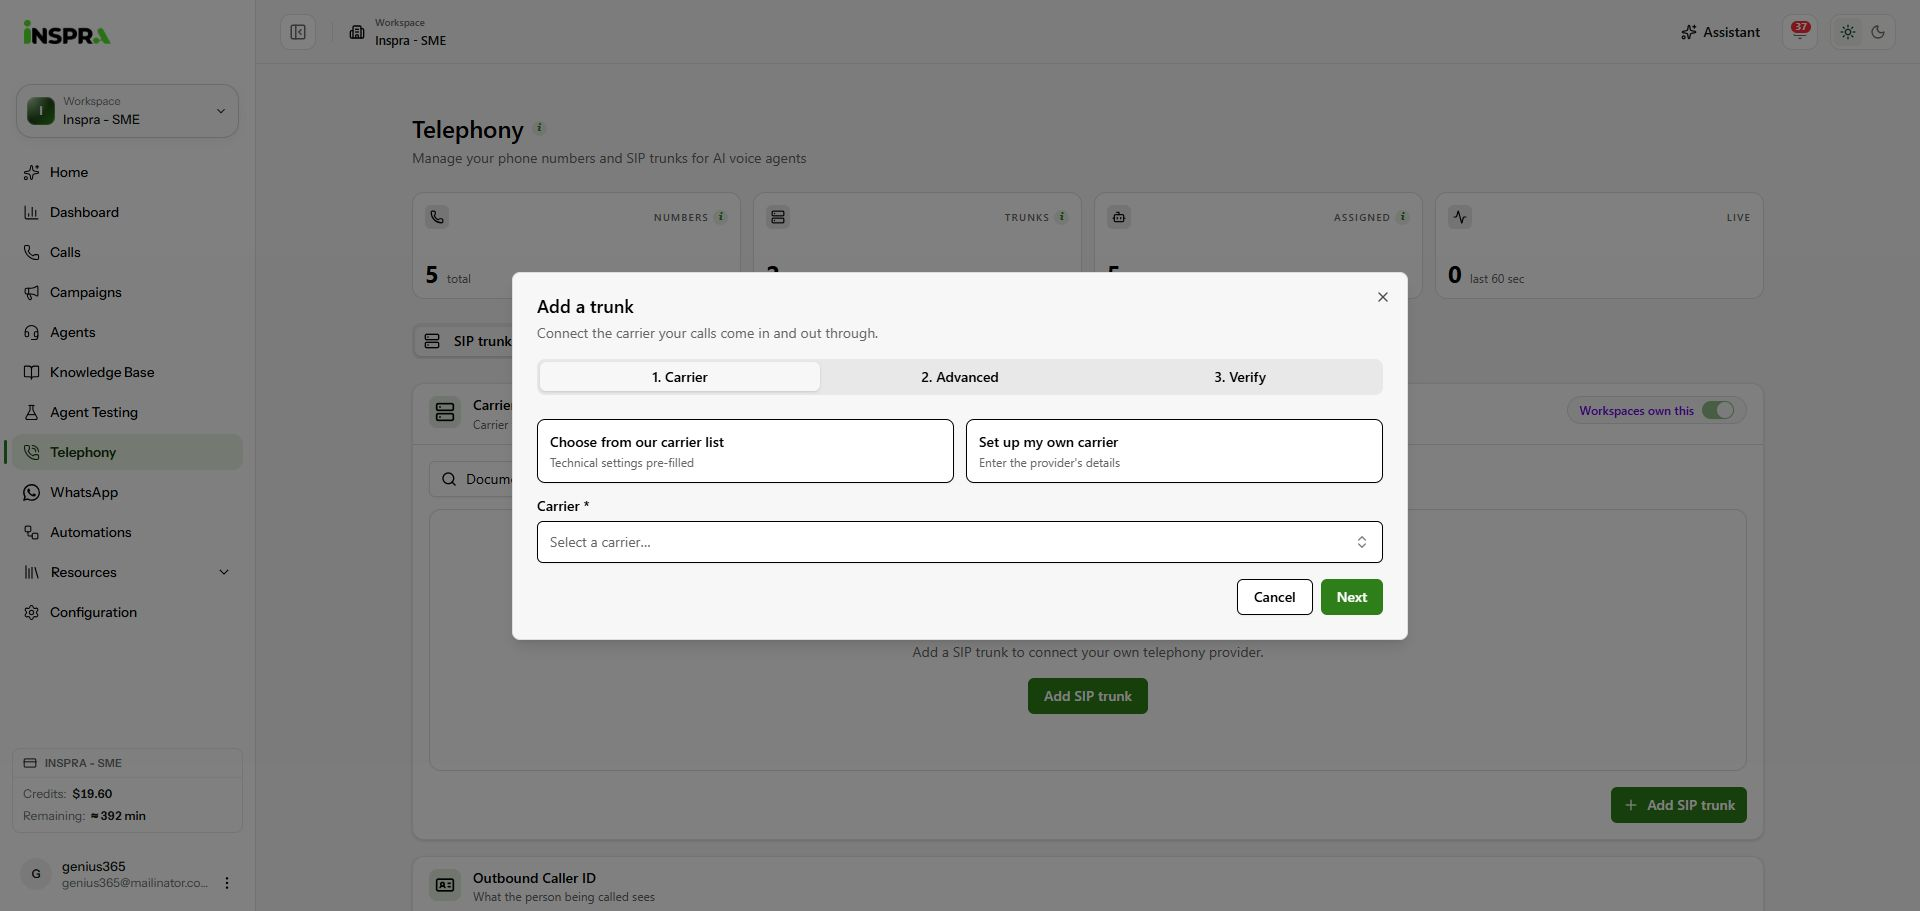
Choose a carrier template or enter your own provider details. 2. Choose your carrier
For the catalogue, open Select a carrier, search or filter by region, then select your provider. Its technical defaults are filled in for you.
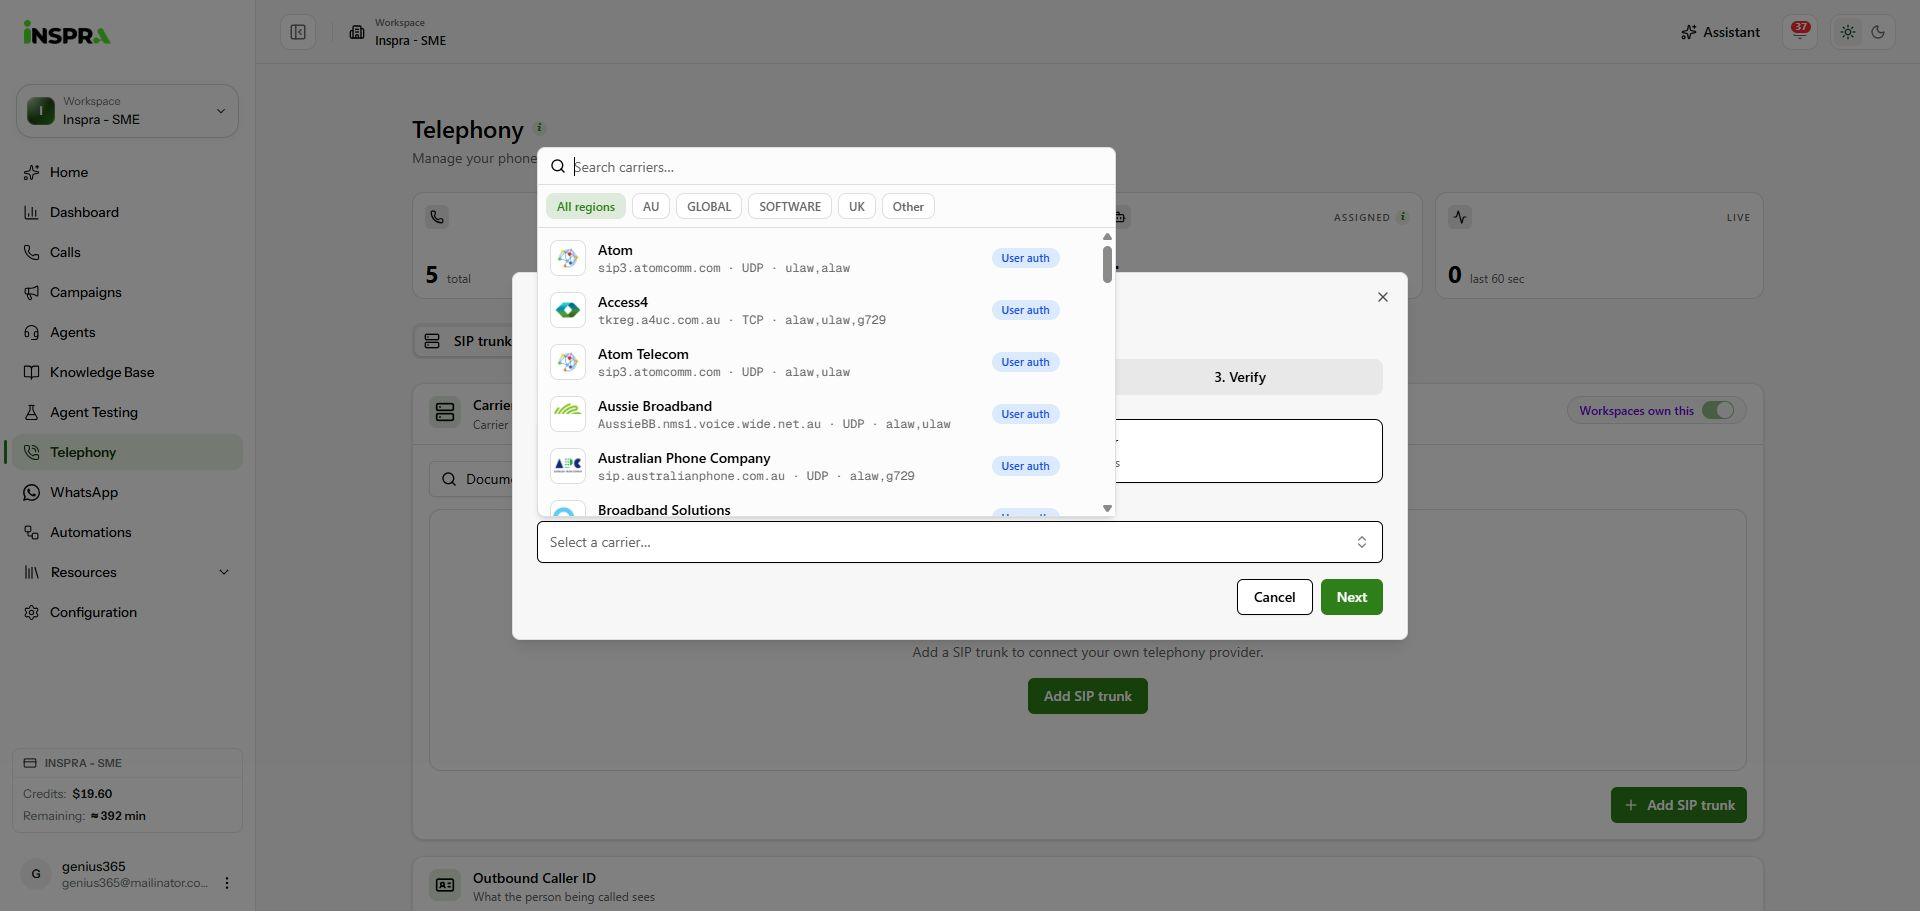
The searchable carrier catalogue. For a custom provider, select Set up my own carrier, enter its SIP host and choose Username & password or Fixed IP address. The remaining fields appear after a host is entered.
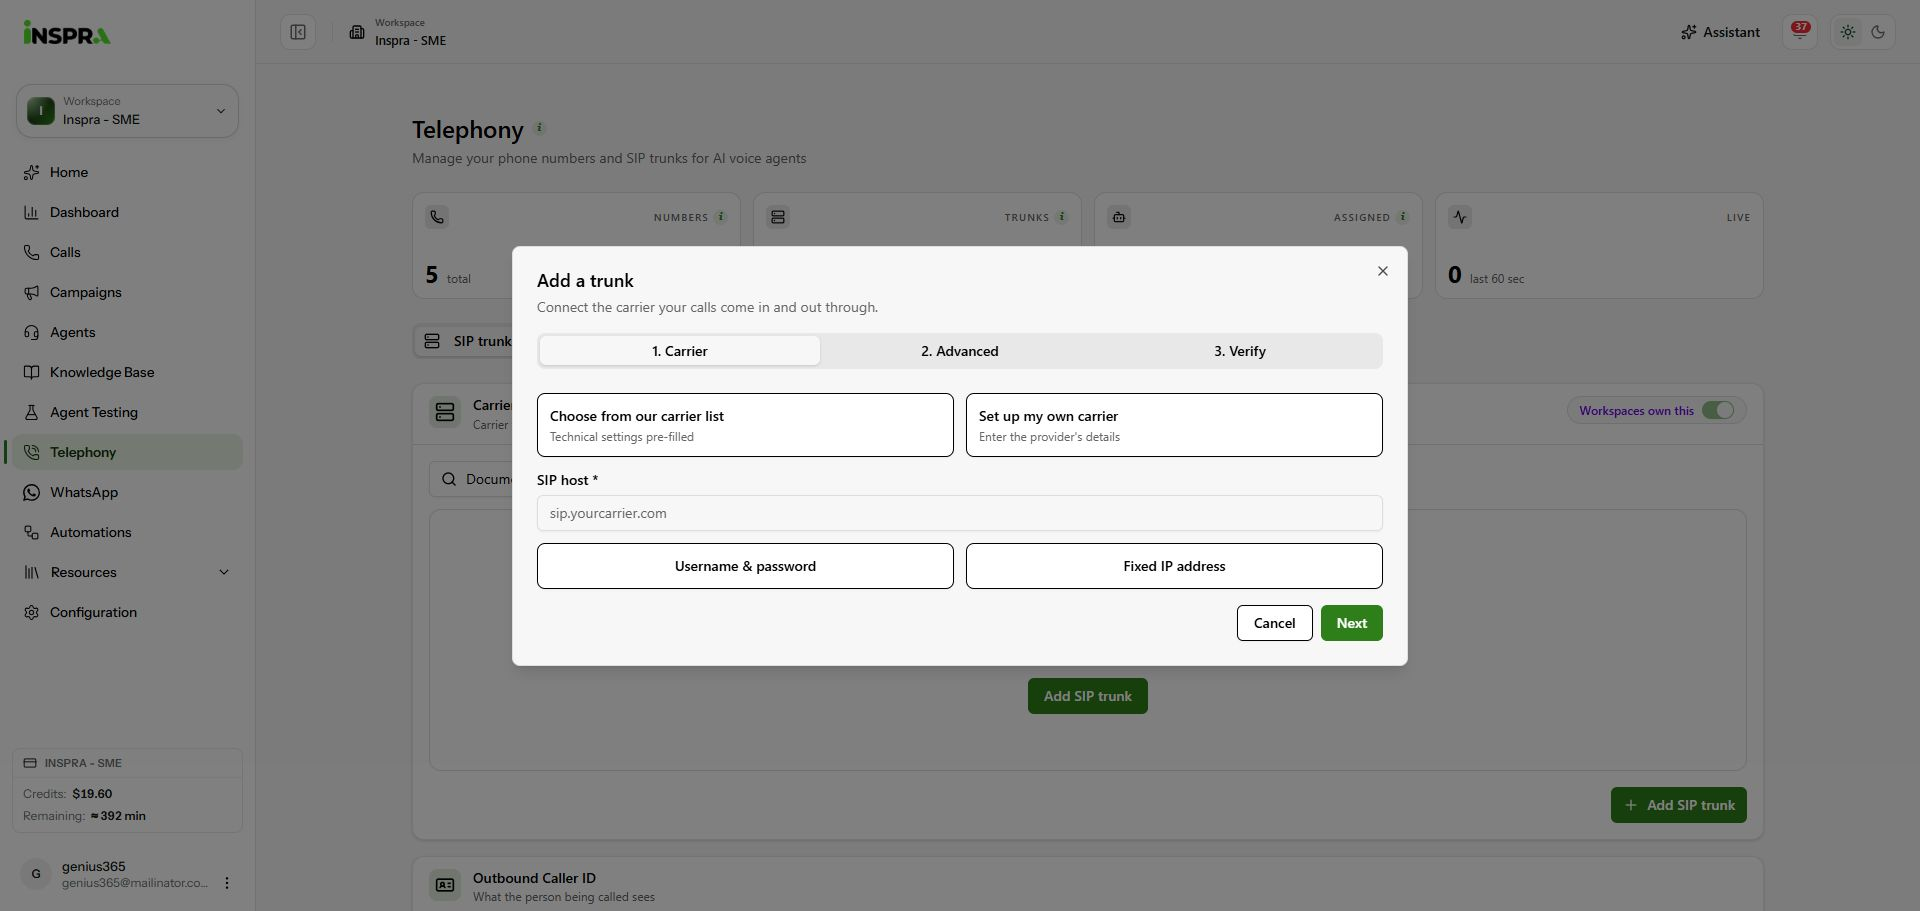
The custom-carrier path before entering a SIP host. 3. Complete the carrier details
Enter a descriptive Trunk name and choose Inbound, Outbound or Both. Complete the authentication fields required by your carrier. Ask the carrier to allow the platform network addresses shown in the form. Click Next.
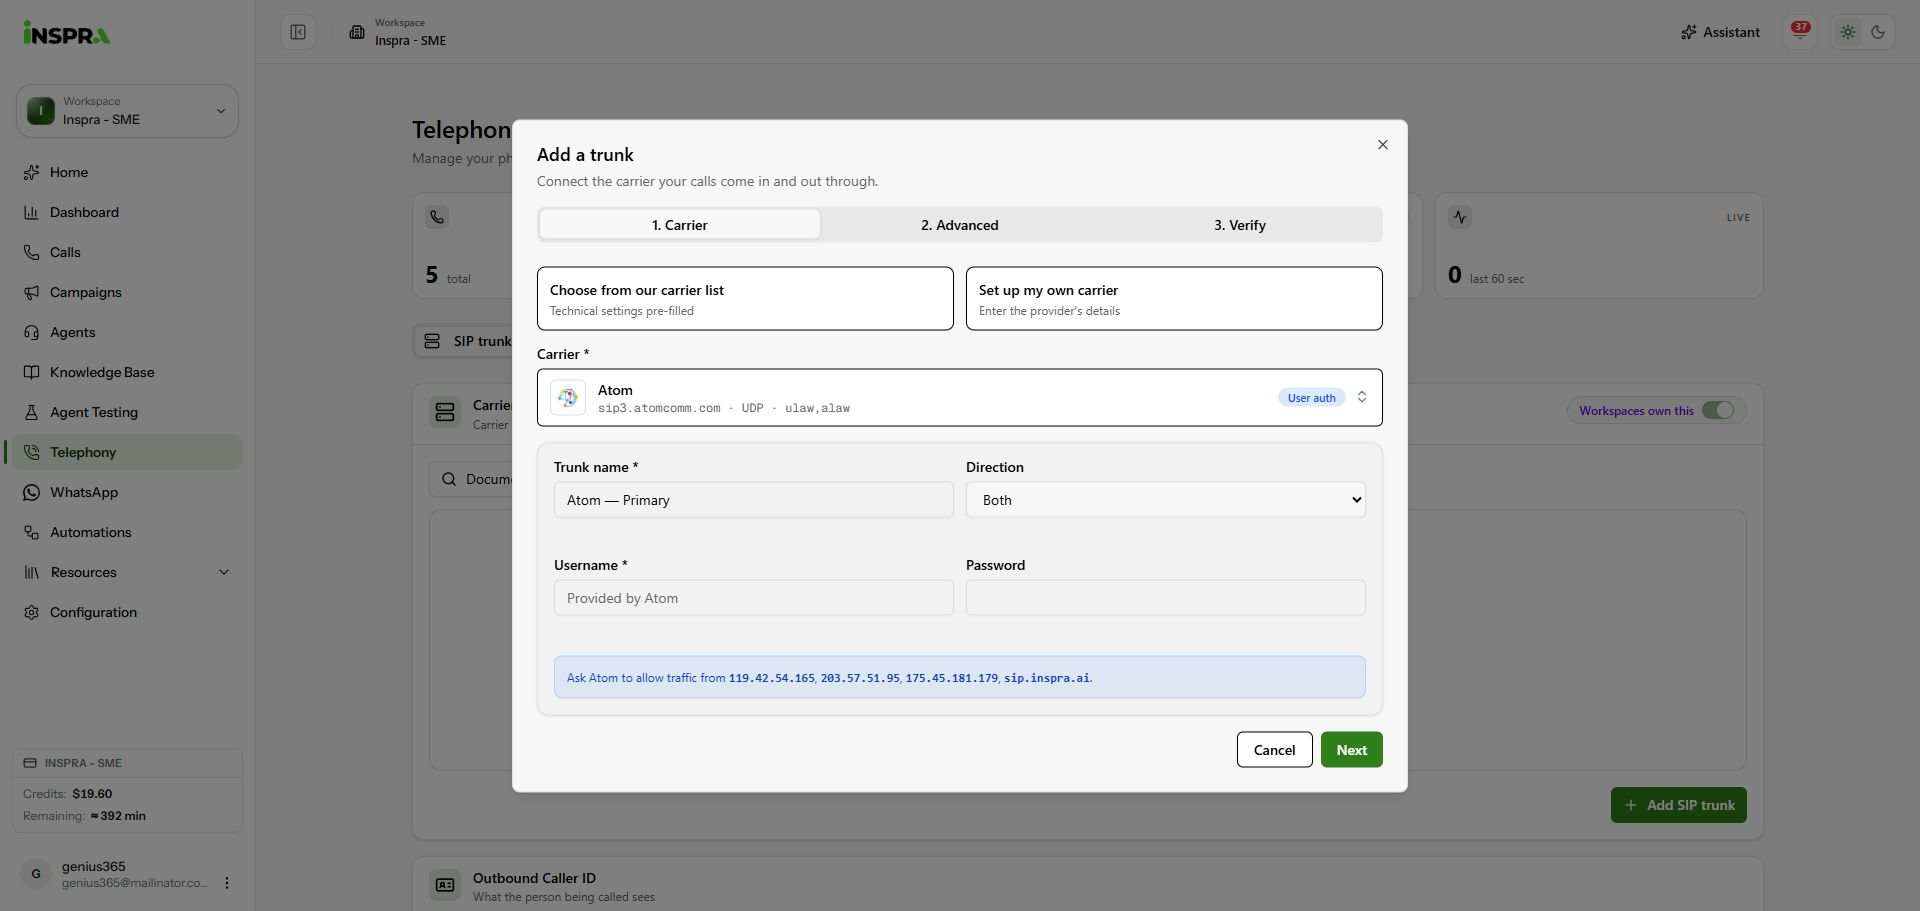
Carrier template selected, with trunk name, direction and empty authentication fields. 4. Review Advanced and save
Check transport, port and other connection settings against your carrier's instructions. Review codecs, number formatting, transfers and capacity using the trunk settings guide. Scroll down and click Save trunk when the configuration is complete.
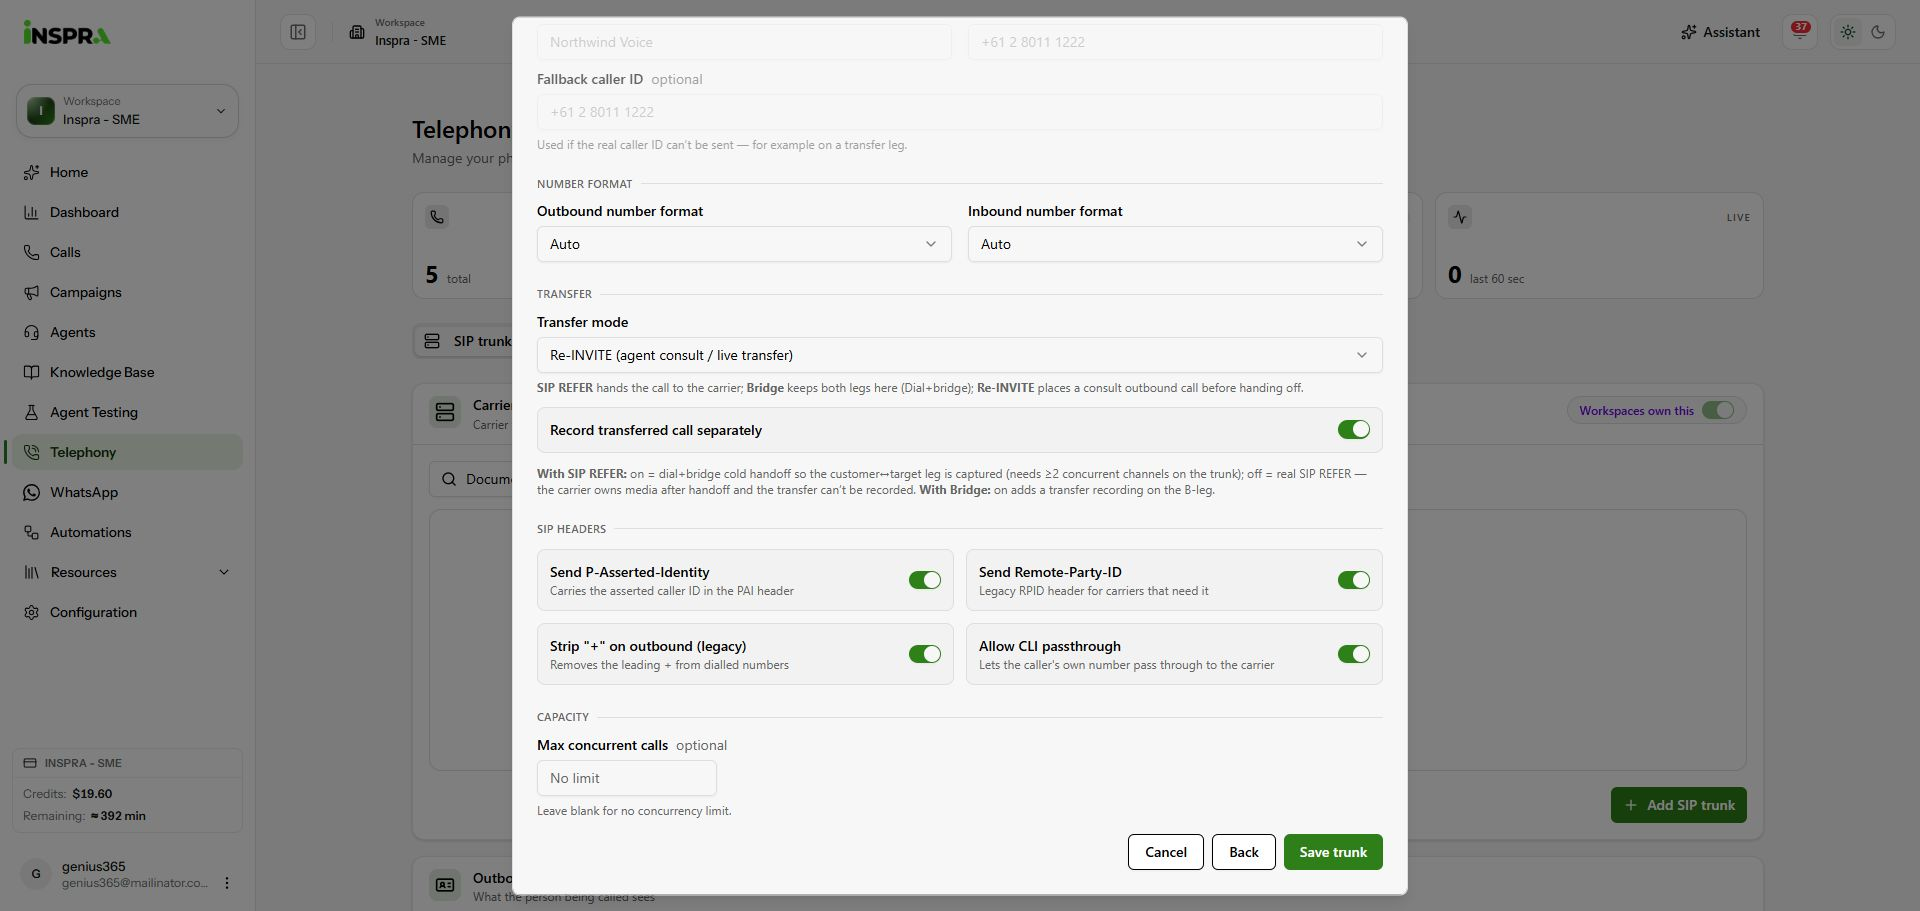
The bottom of Advanced, including Save trunk. 5. Verify the saved connection
Reopen the saved trunk using its pencil button and select 3. Verify. Check the network allowlist, then use Run check to verify registration and peering. An unsaved trunk shows the message below and cannot be checked yet.
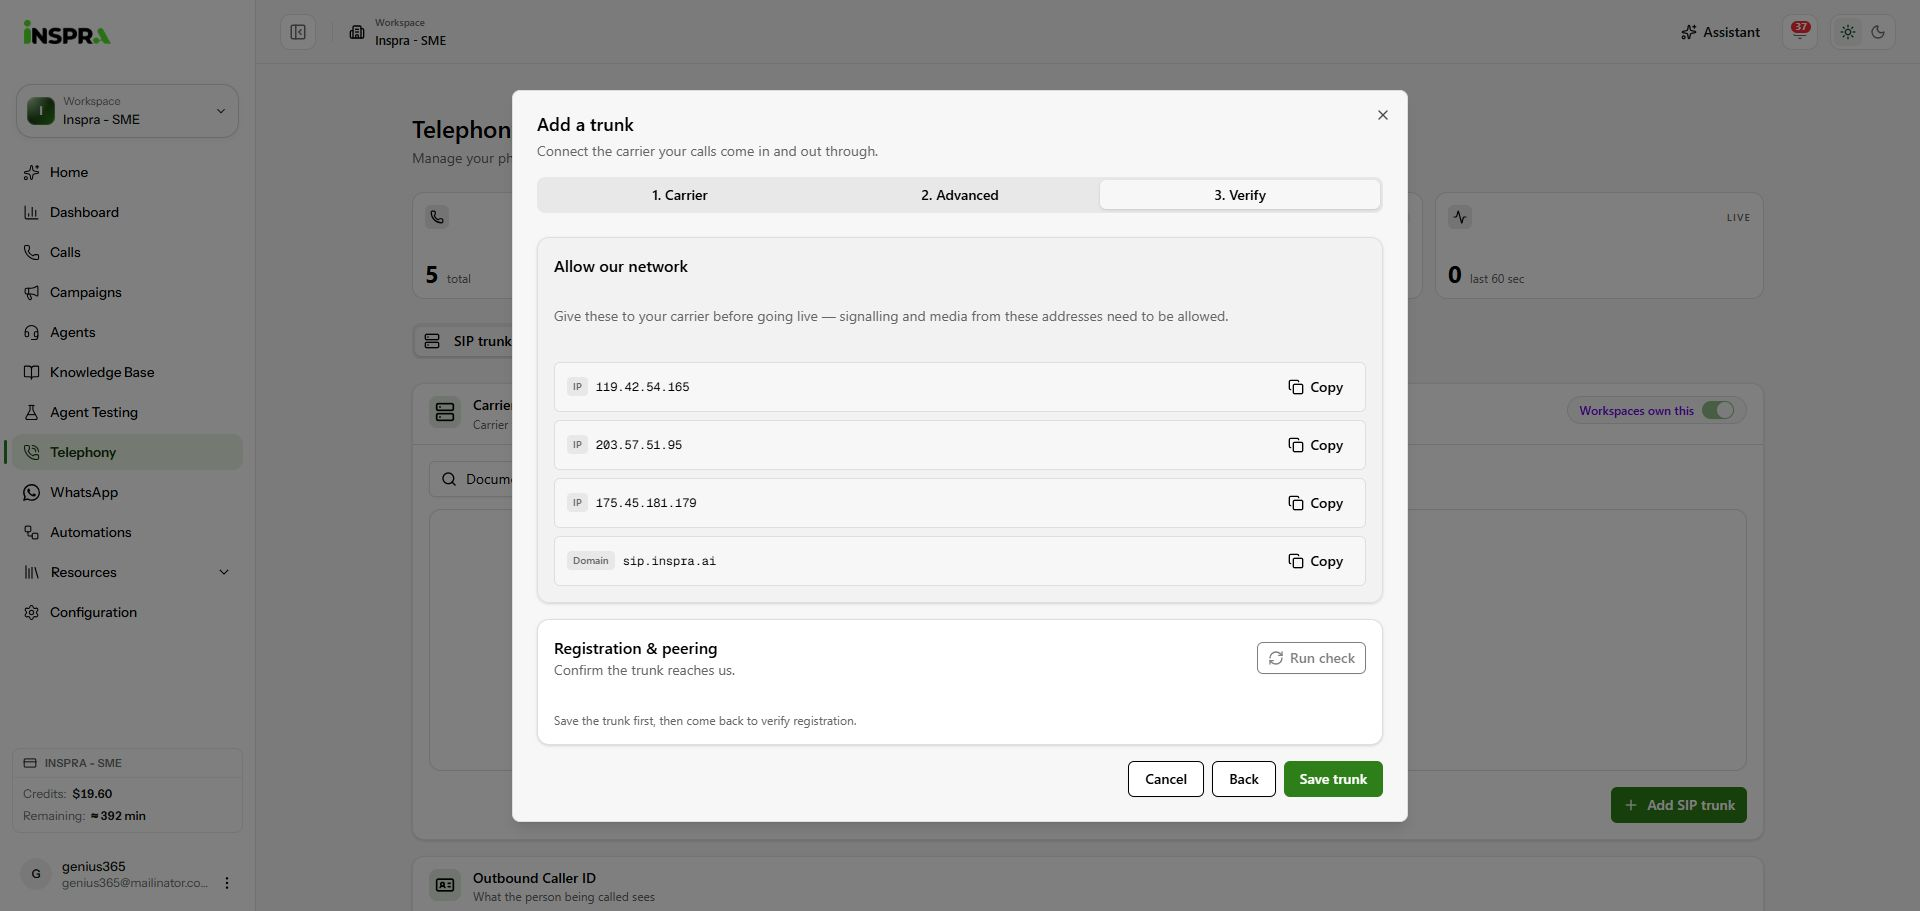
Verify explains that the trunk must be saved before Run check becomes available.