

Set your company identity
Open the branding editor
Go to Organization > Settings. The organization details show your name, slug, role, and plan. Scroll to Branding Editor.
Upload your logos and favicon
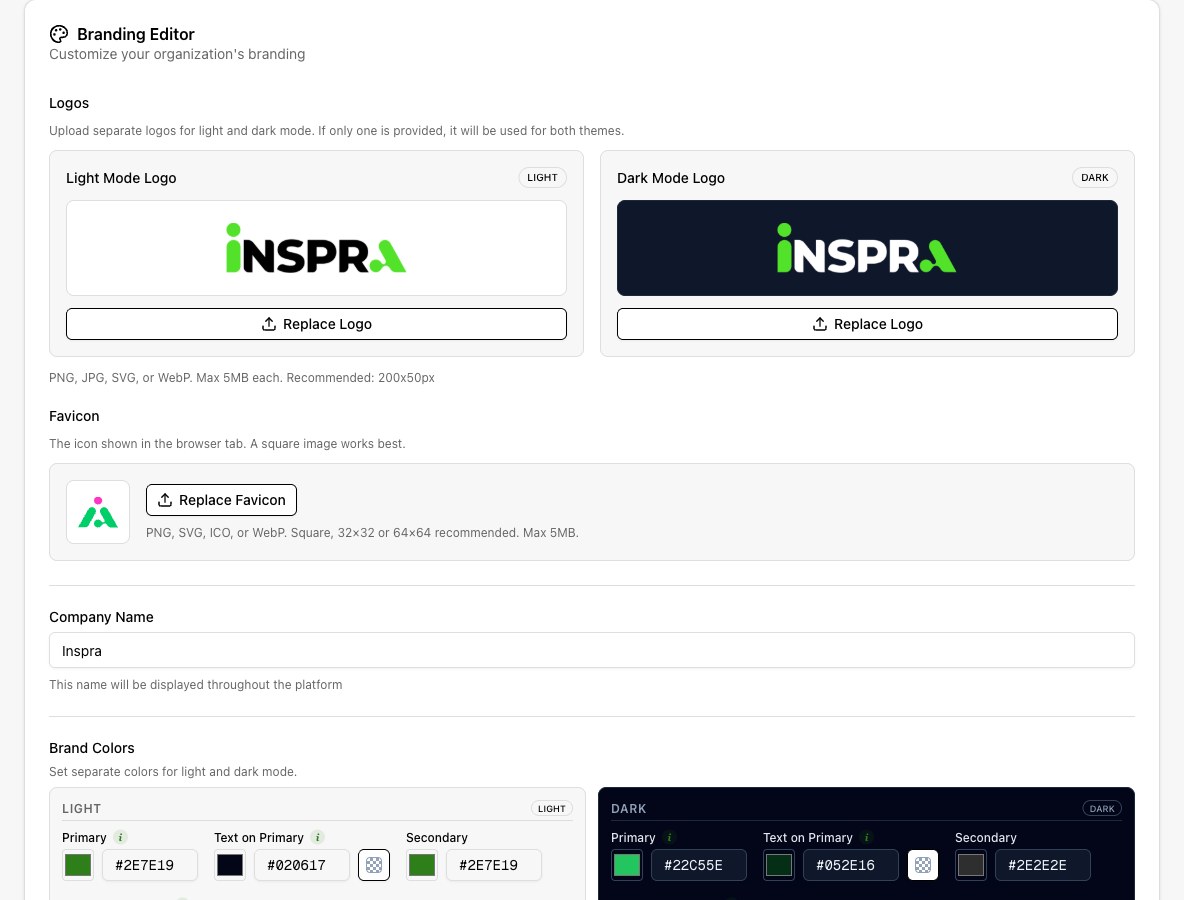
Upload a Light Mode Logo and, if needed, a Dark Mode Logo. If only one is supplied, it serves both themes. Upload the favicon used in the browser tab.
Set the display name
Enter Company Name, up to 100 characters. This is the brand display name throughout the platform.
| Asset | Accepted files | Maximum size |
|---|---|---|
| Logo | PNG, JPG, SVG, WebP | 5 MB per file |
| Favicon | PNG, JPG, SVG, WebP, ICO | 5 MB |
Choose colors for each theme
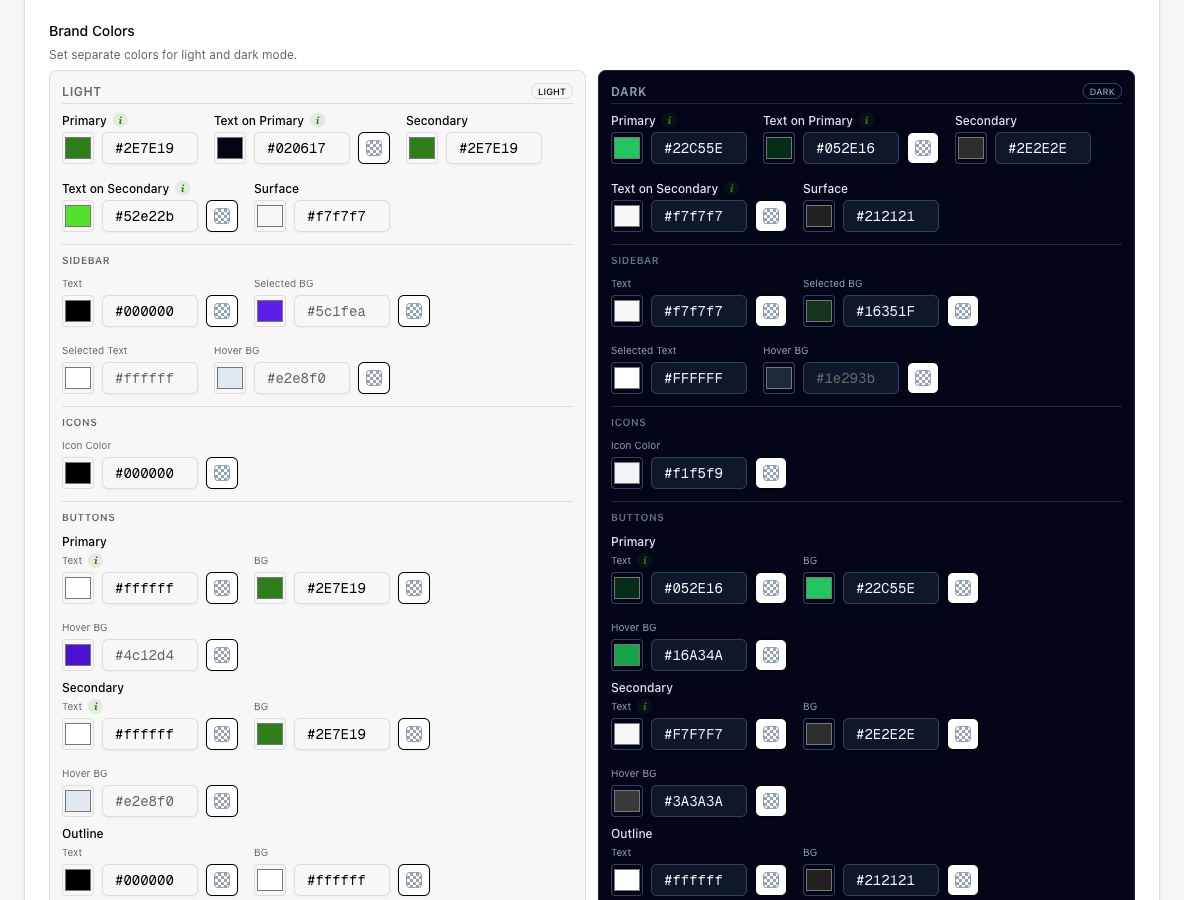
Set light and dark mode separately. Start with the main brand colors, then refine individual controls where needed.
| Controls | What changes |
|---|---|
| Primary, Secondary, Surface | Main fills, highlights, and dashboard surfaces. |
| Text on Primary and Text on Secondary | Text and icons on colored fills. Leave optional values blank for automatic contrast colors. |
| Sidebar | Text, selected background, selected text, and hover background. |
| Icons | The theme's icon color. |
| Buttons | Text, fill, hover, and border fields supported by each button variant. |
| Analytics and Chart Palette | Success, warning, error, info, primary chart color, and series colors. |
Use six-digit hexadecimal values. A missing # is added when saving. Transparency is offered only on supported fields; primary, secondary, surface, and status colors need solid values.
Preview and save
Check both previews
Review the logo, selected navigation, text, buttons, and status colors in light and dark mode.
Save Changes
Select Save Changes to commit the editor. Uploading a file alone does not save the branding configuration. Open a client workspace to check the result.
Discard an unsaved edit
Select Reset to restore the saved form values.
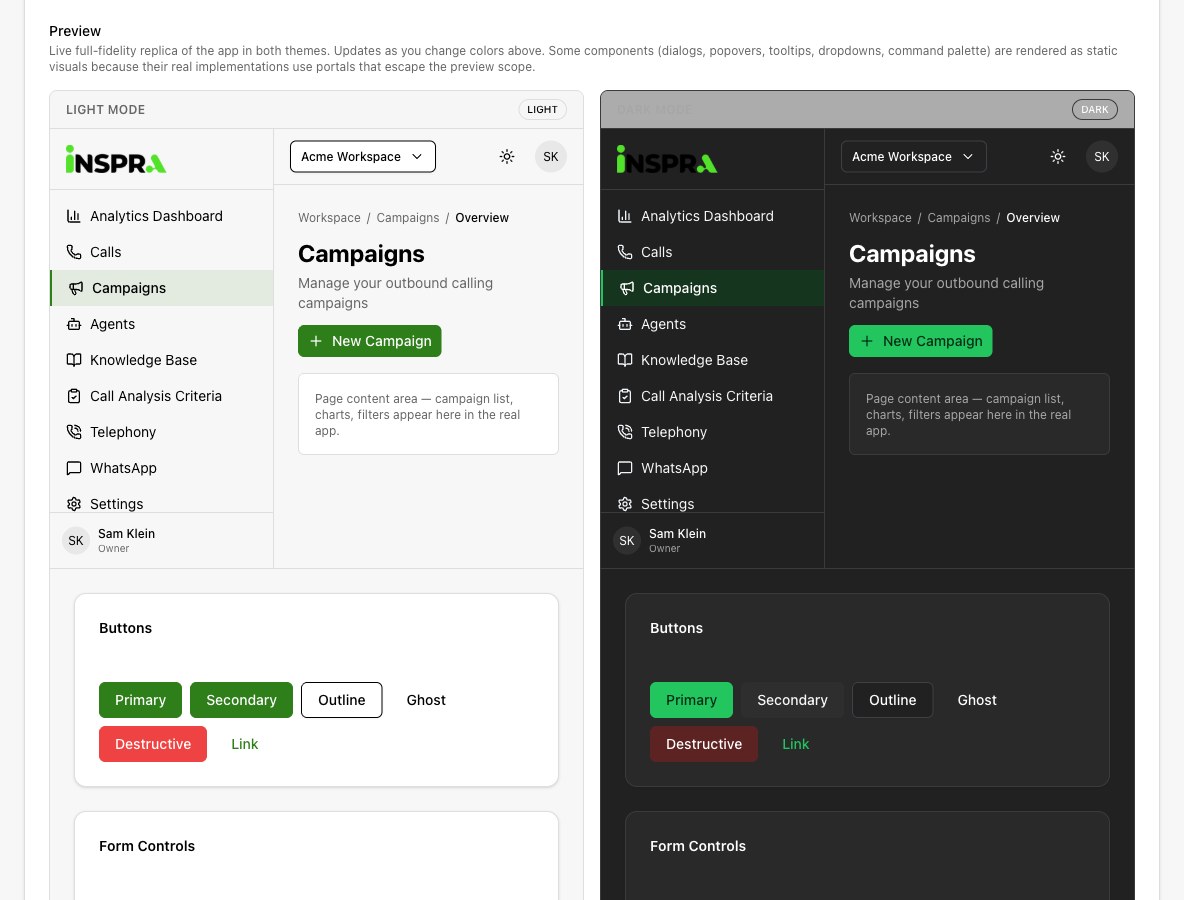
If the logo looks wrong in one theme, check which logo is supplied for that theme. If the page still shows the previous brand, confirm the save succeeded and refresh.